The Short Version
- Soak the seed if it's big, like pea or sunflower. Small seed goes straight onto the tray.
- Fill a tray with growing medium, level it and water it.
- Spread the weighed seed evenly and mist it.
- Cover the tray and keep it dark for 2 to 4 days. This is called blackout.
- Uncover it and move it under the light.
- Water from below every morning and keep a fan running.
- Cut it when it's ready, usually 8 to 12 days after sowing.
- Clean and sanitize the tray for next time.
When you start a tray in the app, we turn its growing steps into tasks on Today. Each task has a short note on why it matters. Tap a task to read it.
Take a photo every day or two. Comparing your photos is how you learn what a healthy tray looks like.
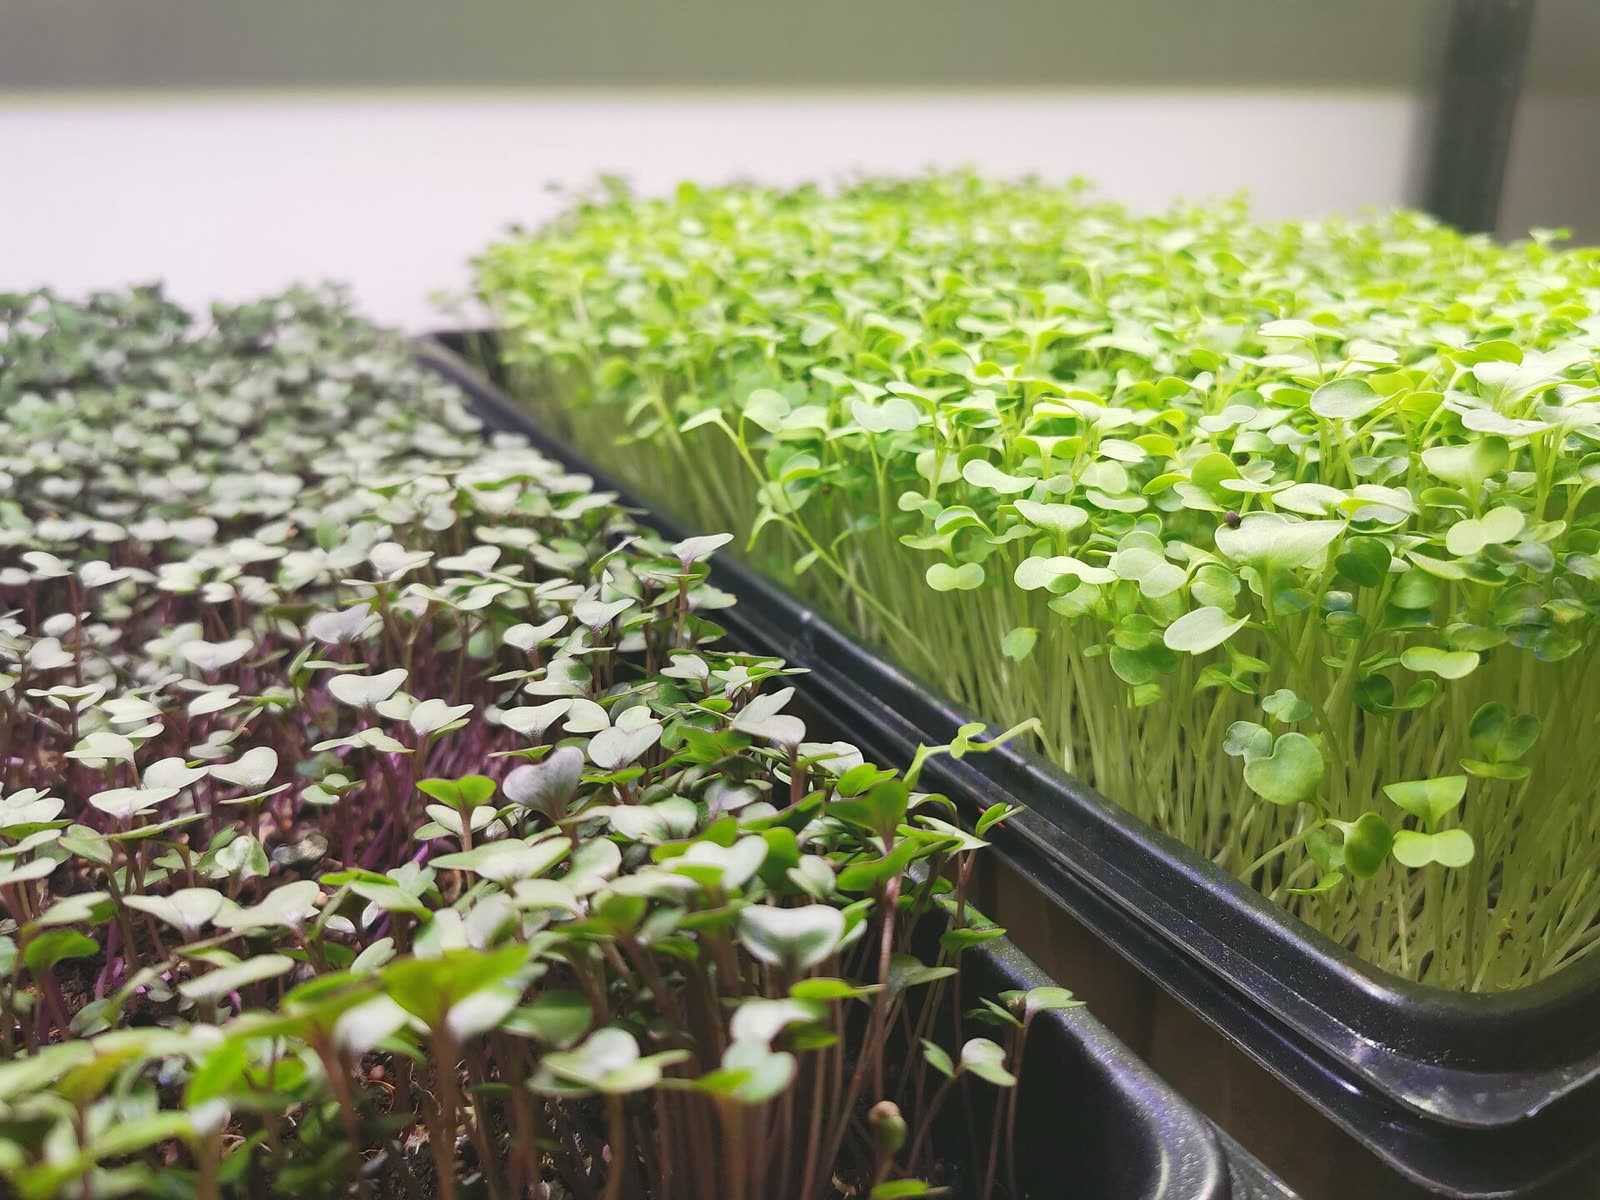
Best Microgreens for Beginners
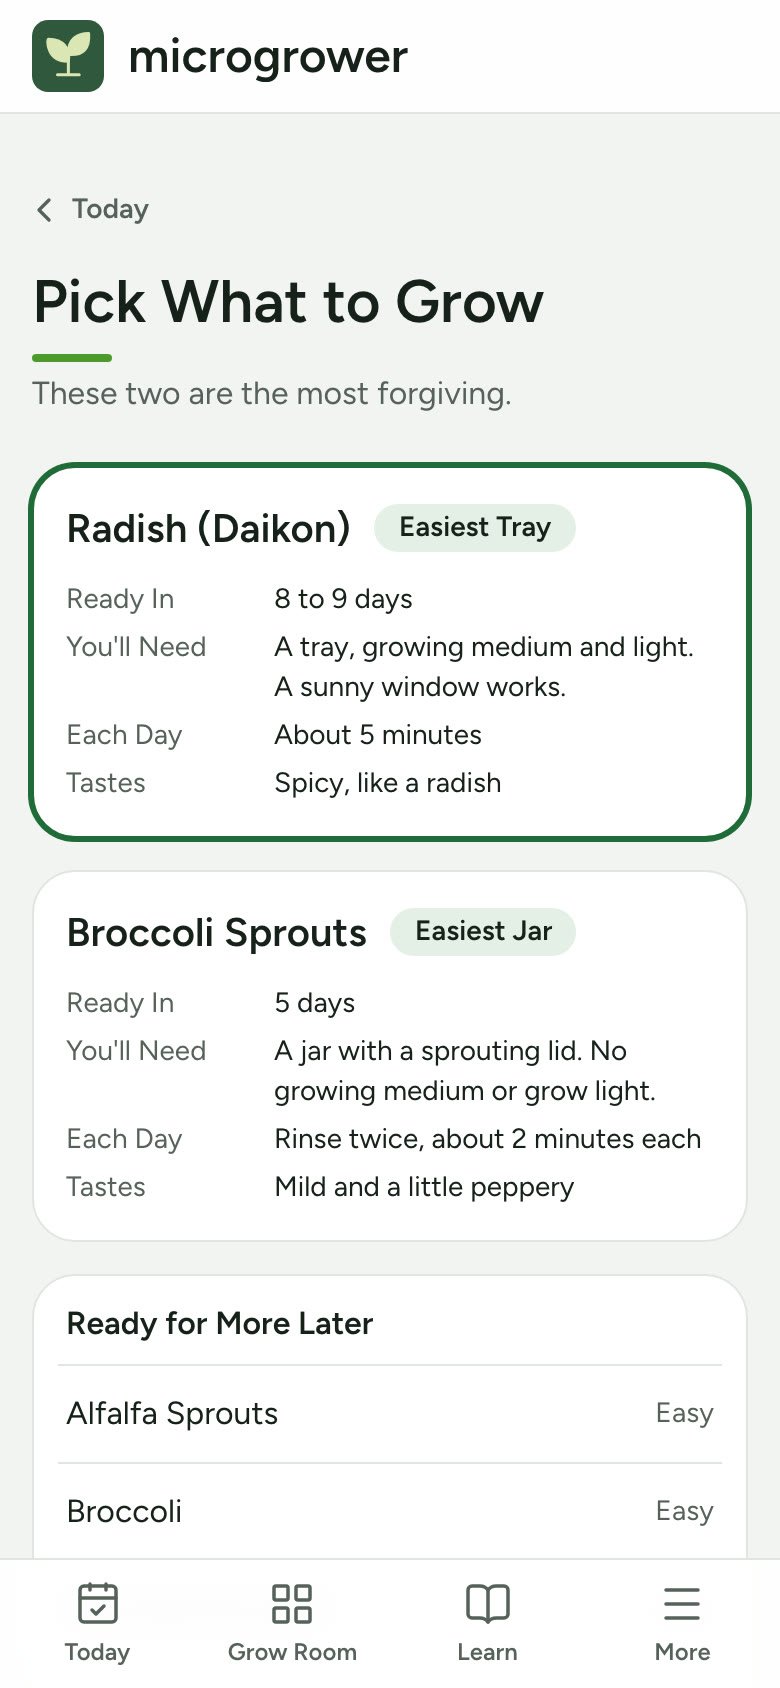
Start with one marked Easiest or Easy. The rest are worth trying once you've grown a tray or two.
| Microgreen | How Hard | Ready In | Taste |
|---|---|---|---|
| Radish (Daikon) | Easiest tray | 8 days | Spicy, like a radish |
| Broccoli | Easy | 10 days | Mild, a little like broccoli |
| Kale (Red Russian) | Easy | 10 days | Mild and a little sweet |
| Kohlrabi (Purple Vienna) | Easy | 10 days | Mild and a little sweet |
| Mustard (Red Giant) | Easy | 10 days | Hot, like mustard |
| Red Cabbage | Easy | 11 days | Mild, like cabbage |
| Sunflower (Black Oil) | Takes some practice | 10 days | Nutty and crunchy |
| Arugula | Takes some practice | 10 days | Peppery |
| Pea (Speckled) | Takes some practice | 11 days | Sweet and crunchy, like fresh peas |
| Amaranth (Red Garnet) | Tricky | 14 days | Mild and earthy |
| Basil (Genovese) | Tricky | 16 days | Like fresh basil |
| Cilantro (Split Seed) | Tricky | 17 days | Like fresh cilantro |
What You Need
For one tray of radish (daikon):
- 2 trays, 10 by 20 inches One tray with holes holds the growing medium. One without holes sits under it and holds water.
- Growing medium Potting mix or coco coir. About 3 quarts fills one tray 1 inch deep.
- Radish (Daikon) Seed About 28 g for one tray. Buy untreated seed sold for microgreens.
- Spray bottle For misting the seeds the first few days.
- A light A sunny window works. A plain LED shop light about 6 inches above the tray works better.
- Kitchen scale (optional) Helps you sow the same amount of seed each time.
For big seeds like pea and sunflower, add:
- A bowl for soaking The seed soaks in cool water for about 10 hours before you sow it.
- A weight About 10 lb, like a few books on a tray, presses the seeds down while they root.
Soak Big Seeds
Big seeds like pea and sunflower sprout faster and more evenly after a soak. Small seeds like radish and broccoli go straight onto the tray. Never soak seed that turns to gel when wet, like arugula and basil.
- Weigh the seed for the tray.
- Rinse it in a strainer to wash off dust.
- Cover it with cool water, about twice as deep as the seed.
- Soak it for 8 to 12 hours. Pea and sunflower take about 10.
- Drain it and rinse it again.
Smell the seed after soaking. It should smell fresh. A sour smell means bacteria are growing. Rinse it well, and start over with fresh seed if the smell stays.
Skim off any seeds that float. They're often hollow or dead.
A longer soak doesn't help. Past about 12 hours, seed can start to sour. If your plans change, sow a little early rather than late.
Sow the Tray
An even tray starts with a level bed and evenly spread seed. High and low spots dry out at different rates and grow unevenly.
- Fill the tray about 1 inch deep with growing medium.
- Level it, and press it down lightly with your hand or a flat board.
- Water it until it's damp all the way through but not dripping.
- Weigh the seed. The amount is in the variety's growing steps.
- Spread it from edge to edge, a little at a time, from a cup or a shaker.
- Mist the seed until it looks wet.
- Label the tray with the variety and the date.
Clumps of seed stay wet, and that's where mold starts. Use your fingertips to spread out any piles.
Seed that turns to gel when wet, like arugula and basil, needs a lighter touch. Mist it gently and never soak it.
Weighing the seed every time lets you compare trays. If a harvest comes in light, the amount of seed is the first thing to check.
Keep It Dark for a Few Days
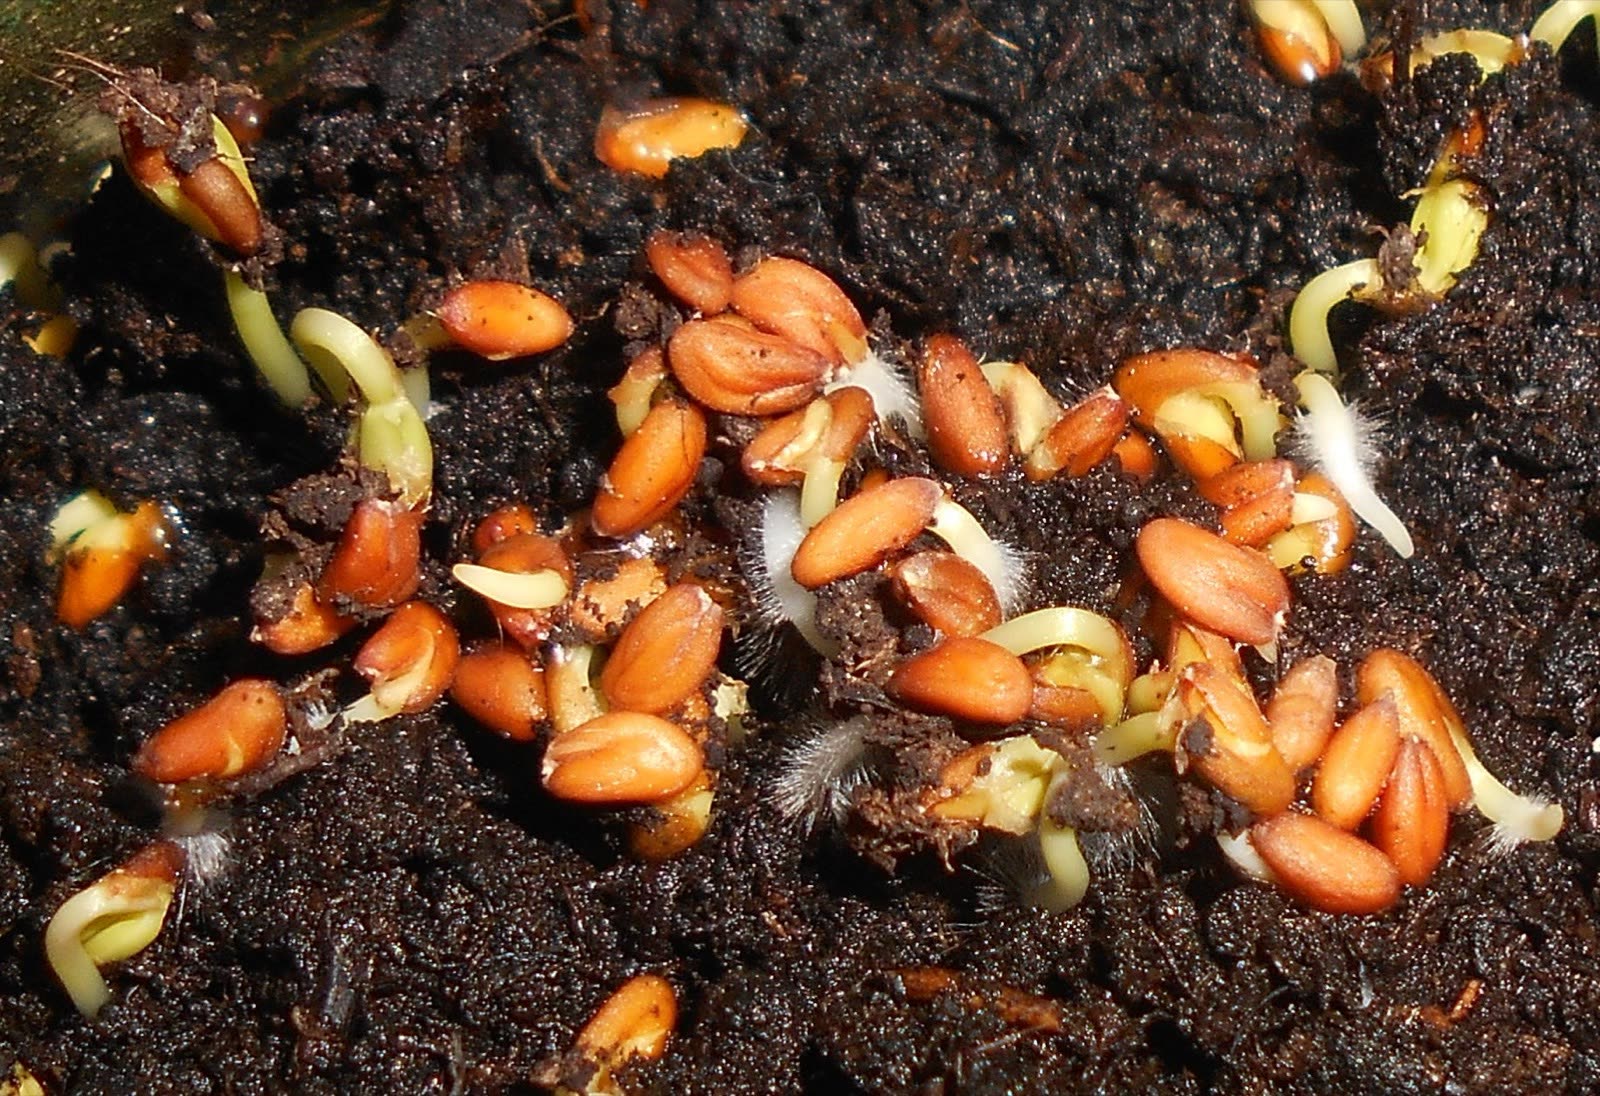
Blackout means the tray is covered and kept dark for the first few days. In the dark, seeds put down roots and the stems stretch upward. Most varieties need 2 to 4 days.
There are two ways to keep a tray dark:
- Stack trays on top of each other, with an empty tray or lid on the top one.
- Cover each tray with an upside down tray or a blackout lid.
Big seeds like pea and sunflower do best under weight. Set about 10 lb on the cover. The weight presses the roots into the growing medium and makes the stems strong. It also helps sunflower shed its hulls.
Each morning, lift the cover and check the moisture. Mist if the surface looks dry. Each evening, flip the stack or lift the cover to let air in.
Uncover when the shoots are about 1 to 2 inches tall and pushing up on the cover. A blackout that's too long gives tall, weak stems. One that's too short gives short, uneven trays.
Uncover and Give It Light
Uncover means taking the cover off and moving the tray under the light. It's the day pale shoots start to turn green.
- Take off the cover and any weight.
- Move the tray under the light.
- Water from below. See Watering from Below.
- Turn on the fan so air moves over the tray.
The shoots will be yellow at first. That's normal, since they grew in the dark. Within a day under good light, they should start to turn green.
If they're still yellow after 2 days, check that the light is on for 12 to 16 hours a day. Also check its height. Your light's instructions say how far above the leaves to hang it.
Shoots sometimes lean or lie flat after uncovering. They usually stand up within a day, once they have water and light.
Lights and Airflow
Microgreens need light to turn green and grow strong. They need moving air to stay free of mold. You don't need special grow lights. Plain LED shop lights work well for most varieties.
- Run the lights 12 to 16 hours a day, on a timer.
- Hang them as high as the light's instructions say. Most LED shop lights sit a few inches to about a foot above the leaves.
- Run a fan across the rack while trays are under the lights.
- Aim for a gentle breeze that makes the leaves sway a little.
Too little light gives pale, tall, floppy greens. A light that's too close can scorch the leaf tips brown, and it adds heat.
The fan matters as much as the light. Still, damp air is where mold and damping off start. A small clip fan for each shelf, or one fan for the rack, is enough. Check each morning that it's still running.
Water From Below
Water microgreens from below once they're under the light. Pour water into a tray underneath, and the roots pull it up. The leaves stay dry, and dry leaves are the best defense against mold.
You'll need a solid tray with no holes, under your growing tray with holes.
- Lift the growing tray out.
- Pour 1 to 2 cups of water into the solid tray. Big trays of pea and sunflower may need more.
- Set the growing tray back in.
- After 10 to 15 minutes, pour off any water that's left.
Lift the tray each morning to judge it. A light tray needs water. A heavy tray can wait.
Don't let trays sit in water all day. Soggy growing medium is where damping off starts. That's when stems rot at the base and fall over.
Don't water on the day you harvest. Water the day before instead, so the greens are dry when you cut them.
Harvest
Most microgreens are ready when the first 2 leaves are open, before the true leaves grow in. True leaves are the next set of leaves, and they change the taste. Pea is different: cut it when it's 4 to 6 inches tall.
Water the tray the day before. Don't water it on harvest day. Dry greens keep much longer than wet ones.
- Wash your hands, and sanitize your blade and containers.
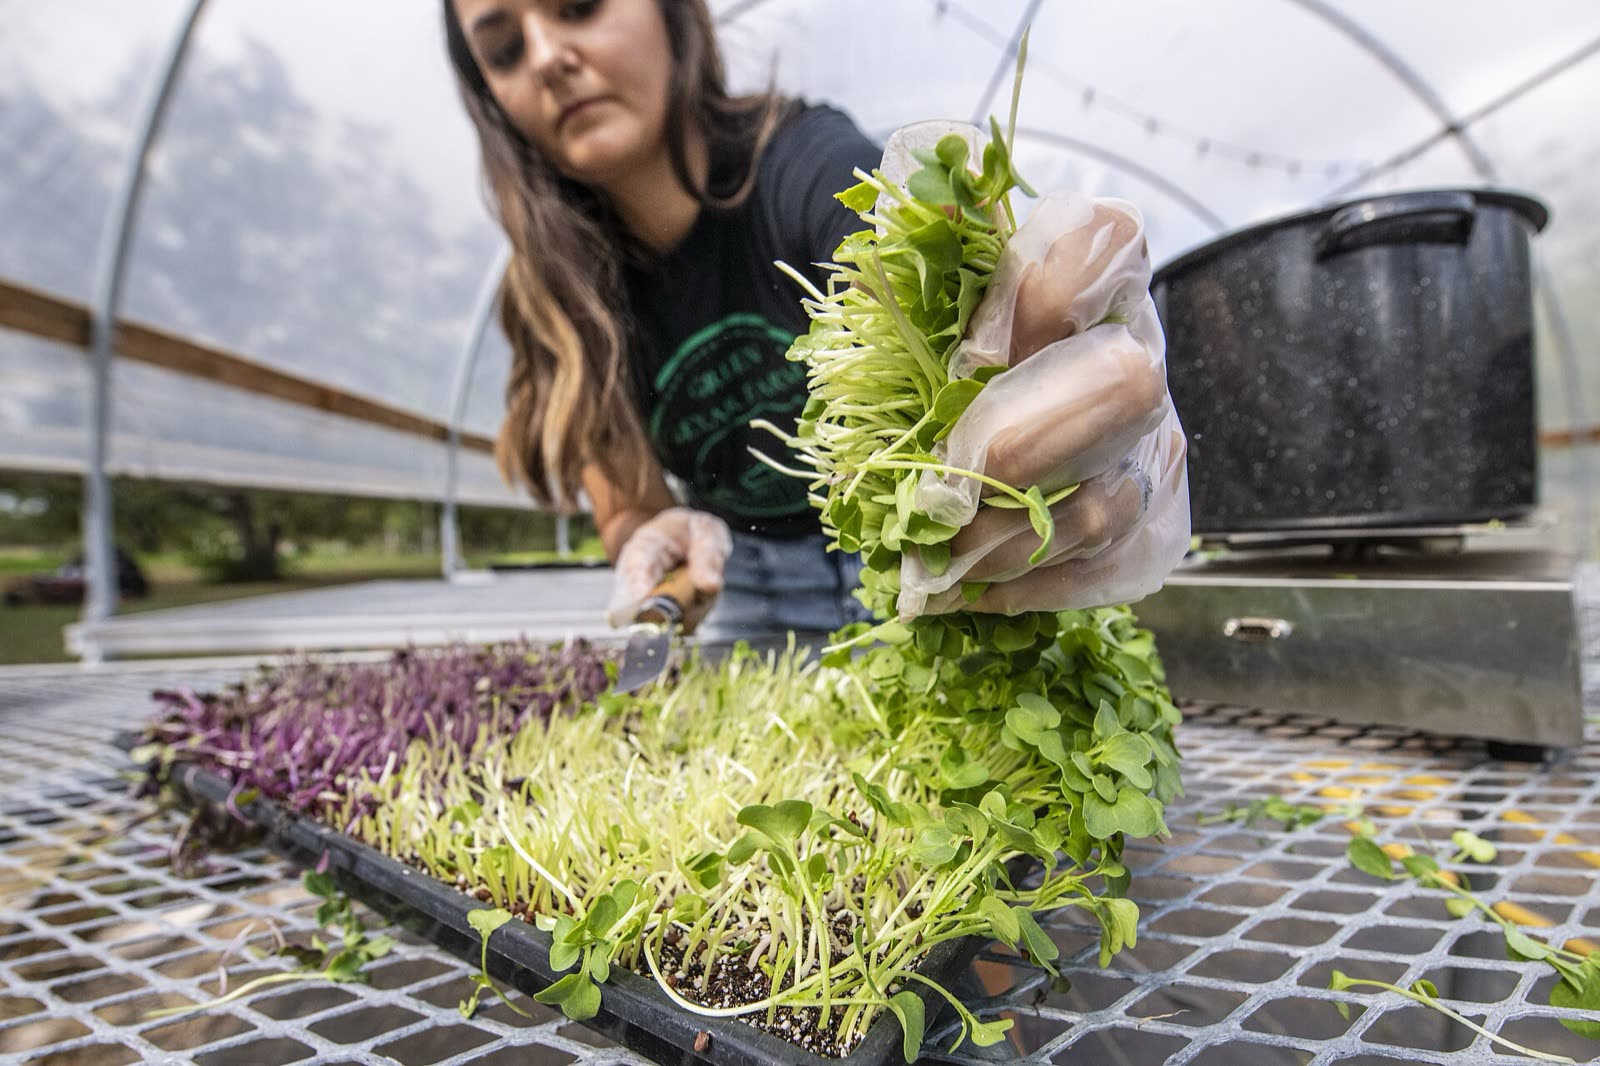
- Hold a handful of greens and cut just above the growing medium.
- Keep roots and growing medium out of the cut greens.
- Weigh the harvest and log it in the app.
- Pack, label and refrigerate them right away.
Use a sharp knife or scissors. Dull blades crush stems, and crushed stems spoil faster.
Every weight you log improves your average harvest for that variety. Plan uses that average to work out how many trays to grow.
Keep Them Fresh
Store them dry in a closed container with a paper towel, in the fridge. Rinse just before eating. They keep about a week.
Choosing a Growing Medium
Growing medium is what your trays grow in. The common choices are potting mix, coco coir and hemp mats. Each one works. Pick one, learn it well, and switch only for a good reason.
- Potting mix holds water well and forgives mistakes. Use a fine seed starting mix without big chunks. It's heavier and messier than the others.
- Coco coir is made from coconut husks. It's light and clean, and it holds water evenly. It often comes as a dry brick that you soak to fluff up.
- Hemp mats are thin pads that sit in the tray. They're clean and quick, and they suit small seeds like broccoli and radish. They dry out faster, so check them often.
Buy growing medium from a garden supplier, and keep the bag closed and dry. Never use dirt from your yard. It can carry bugs, weed seeds and germs.
Fill trays about 1 inch deep with potting mix or coir. Water it before you sow. Track your bags in Supplies, so you know when to reorder.
When Something Looks Off
White fuzz on the roots is usually root hairs, not mold. See Microgreens Mold vs Root Hairs for the mist test. Here are the other problems new growers run into, and what to do first:
- Stems Falling Over: Seedlings flop or collapse, in patches or across the whole tray. Check the stems where they meet the growing medium. Pinched and brown means damping off. Firm but limp means water or heat.
- Yellow Leaves: Leaves are pale or yellow instead of green. Give it 2 days under good light. If it doesn't turn green, check the light height.
- Tall, Thin and Floppy: Long, pale stems and small leaves. The greens lean or flop over. Move it under strong light. Harvest a little early if it keeps flopping.
- Patchy Germination: Bare spots or uneven areas where seeds didn't come up. Harvest what grew and add a note, so you can compare it with the next tray.
- Sour or Rotten Smell: The tray, jar or soak water smells sour, swampy or rotten. Rinse or drain it and add airflow. Smell it again in a few hours. If it still smells rotten, compost it.
- Tiny Flies or Bugs: Small black flies around the trays or tiny insects on the leaves. Look closely at the growing medium and under the leaves to see where they are.
- Brown or Crispy Leaf Tips: Leaf edges or tips turn brown and dry. First check the light height and whether the growing medium is dry.
Let the App Keep Track
Microgrower turns each tray's growing steps into tasks on Today, with the reason for each one and a reminder each morning. Each day shows what your tray should look like, and Is This Normal helps when something looks off.